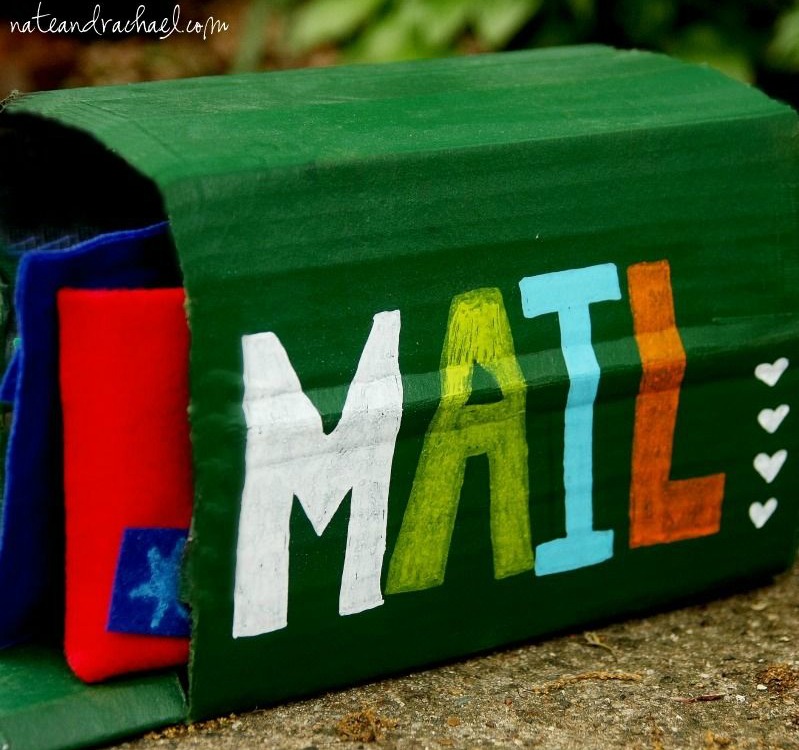
Easy, No-Sew Mail and Play Mailbox
Around here, we’re pretty obsessed with snail mail. In fact, my two-year-old and I practically fight over who gets to get it out and bring it inside. (She can be so childish sometimes.) So I decided it was time for my little one to have her own play mailbox and letters.
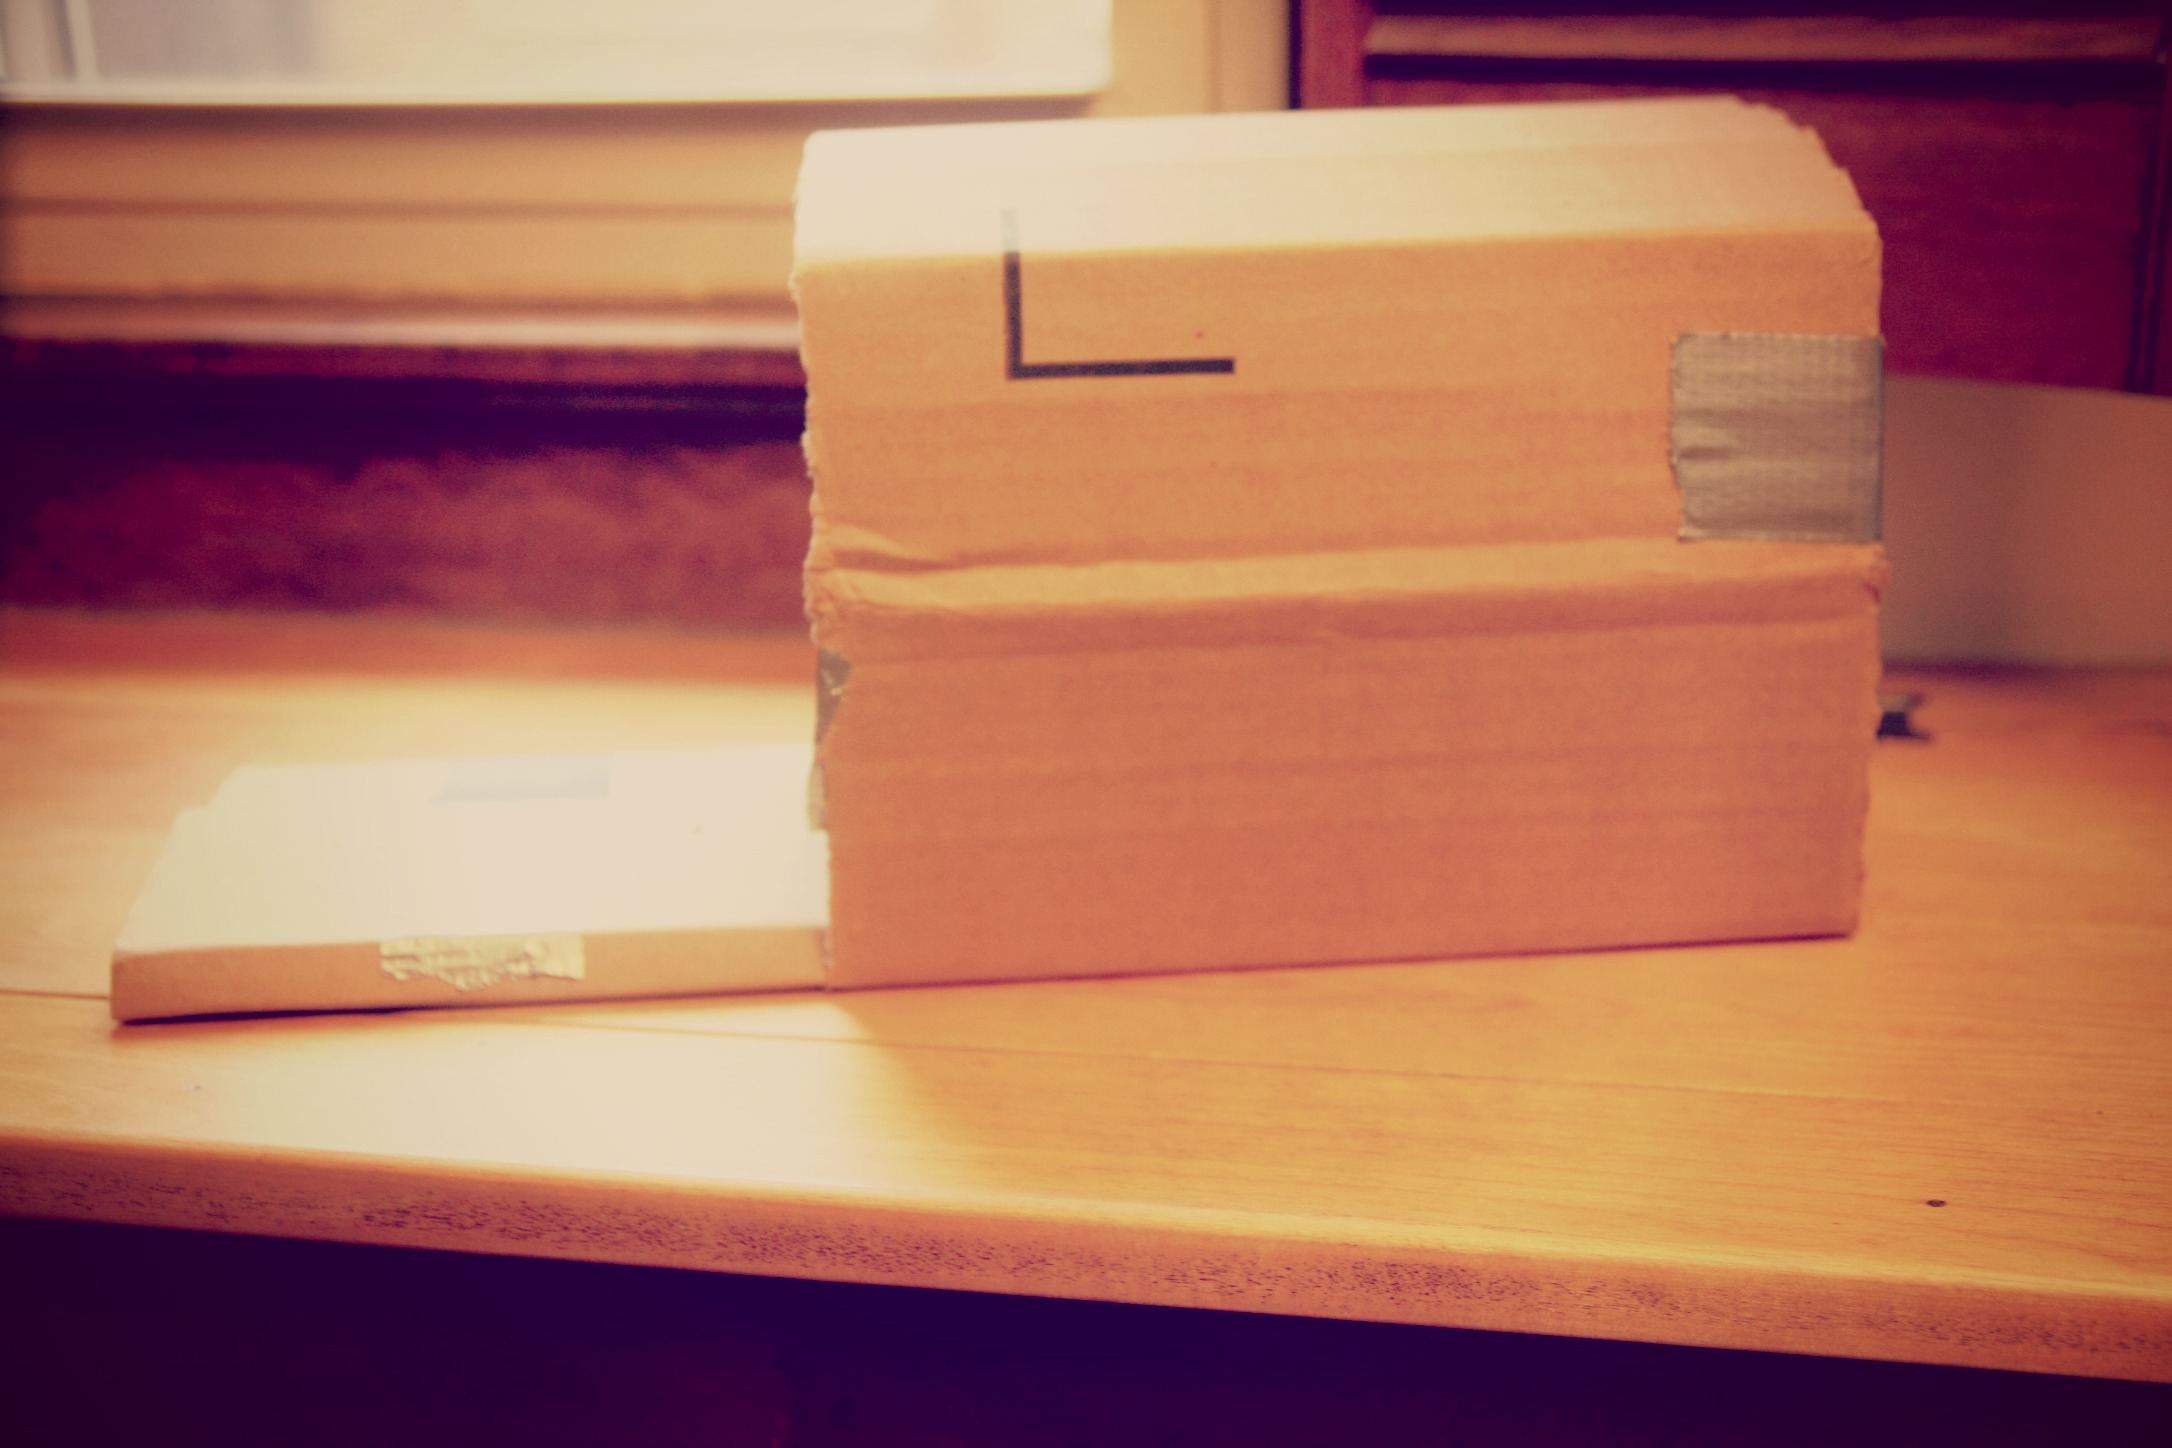
One tiny problem: I can’t make a mailbox. My brain just doesn’t work that way. I just don’t see how pieces and parts fit together. Thankfully, Nate’s handy, and his brain does work that way. So I turned over to him the cardboard and duct tape. A few minutes later, he came back with this:
Awesome! It has a working “door” and a slot in back to slip in mail. Nate assures me it was “easy,” and it didn’t cost us a single penny!
I painted it green (Why green? Because we had green spray paint!) and then wrote “MAIL” in pencil on one side and our address on the other. Then I colored in the words with the awesome Painters pens. The finished mailbox is fun, right?
On to the mail!
This part may have been easier with a sewing machine, but I try to avoid sewing. My project was completely no-sew.
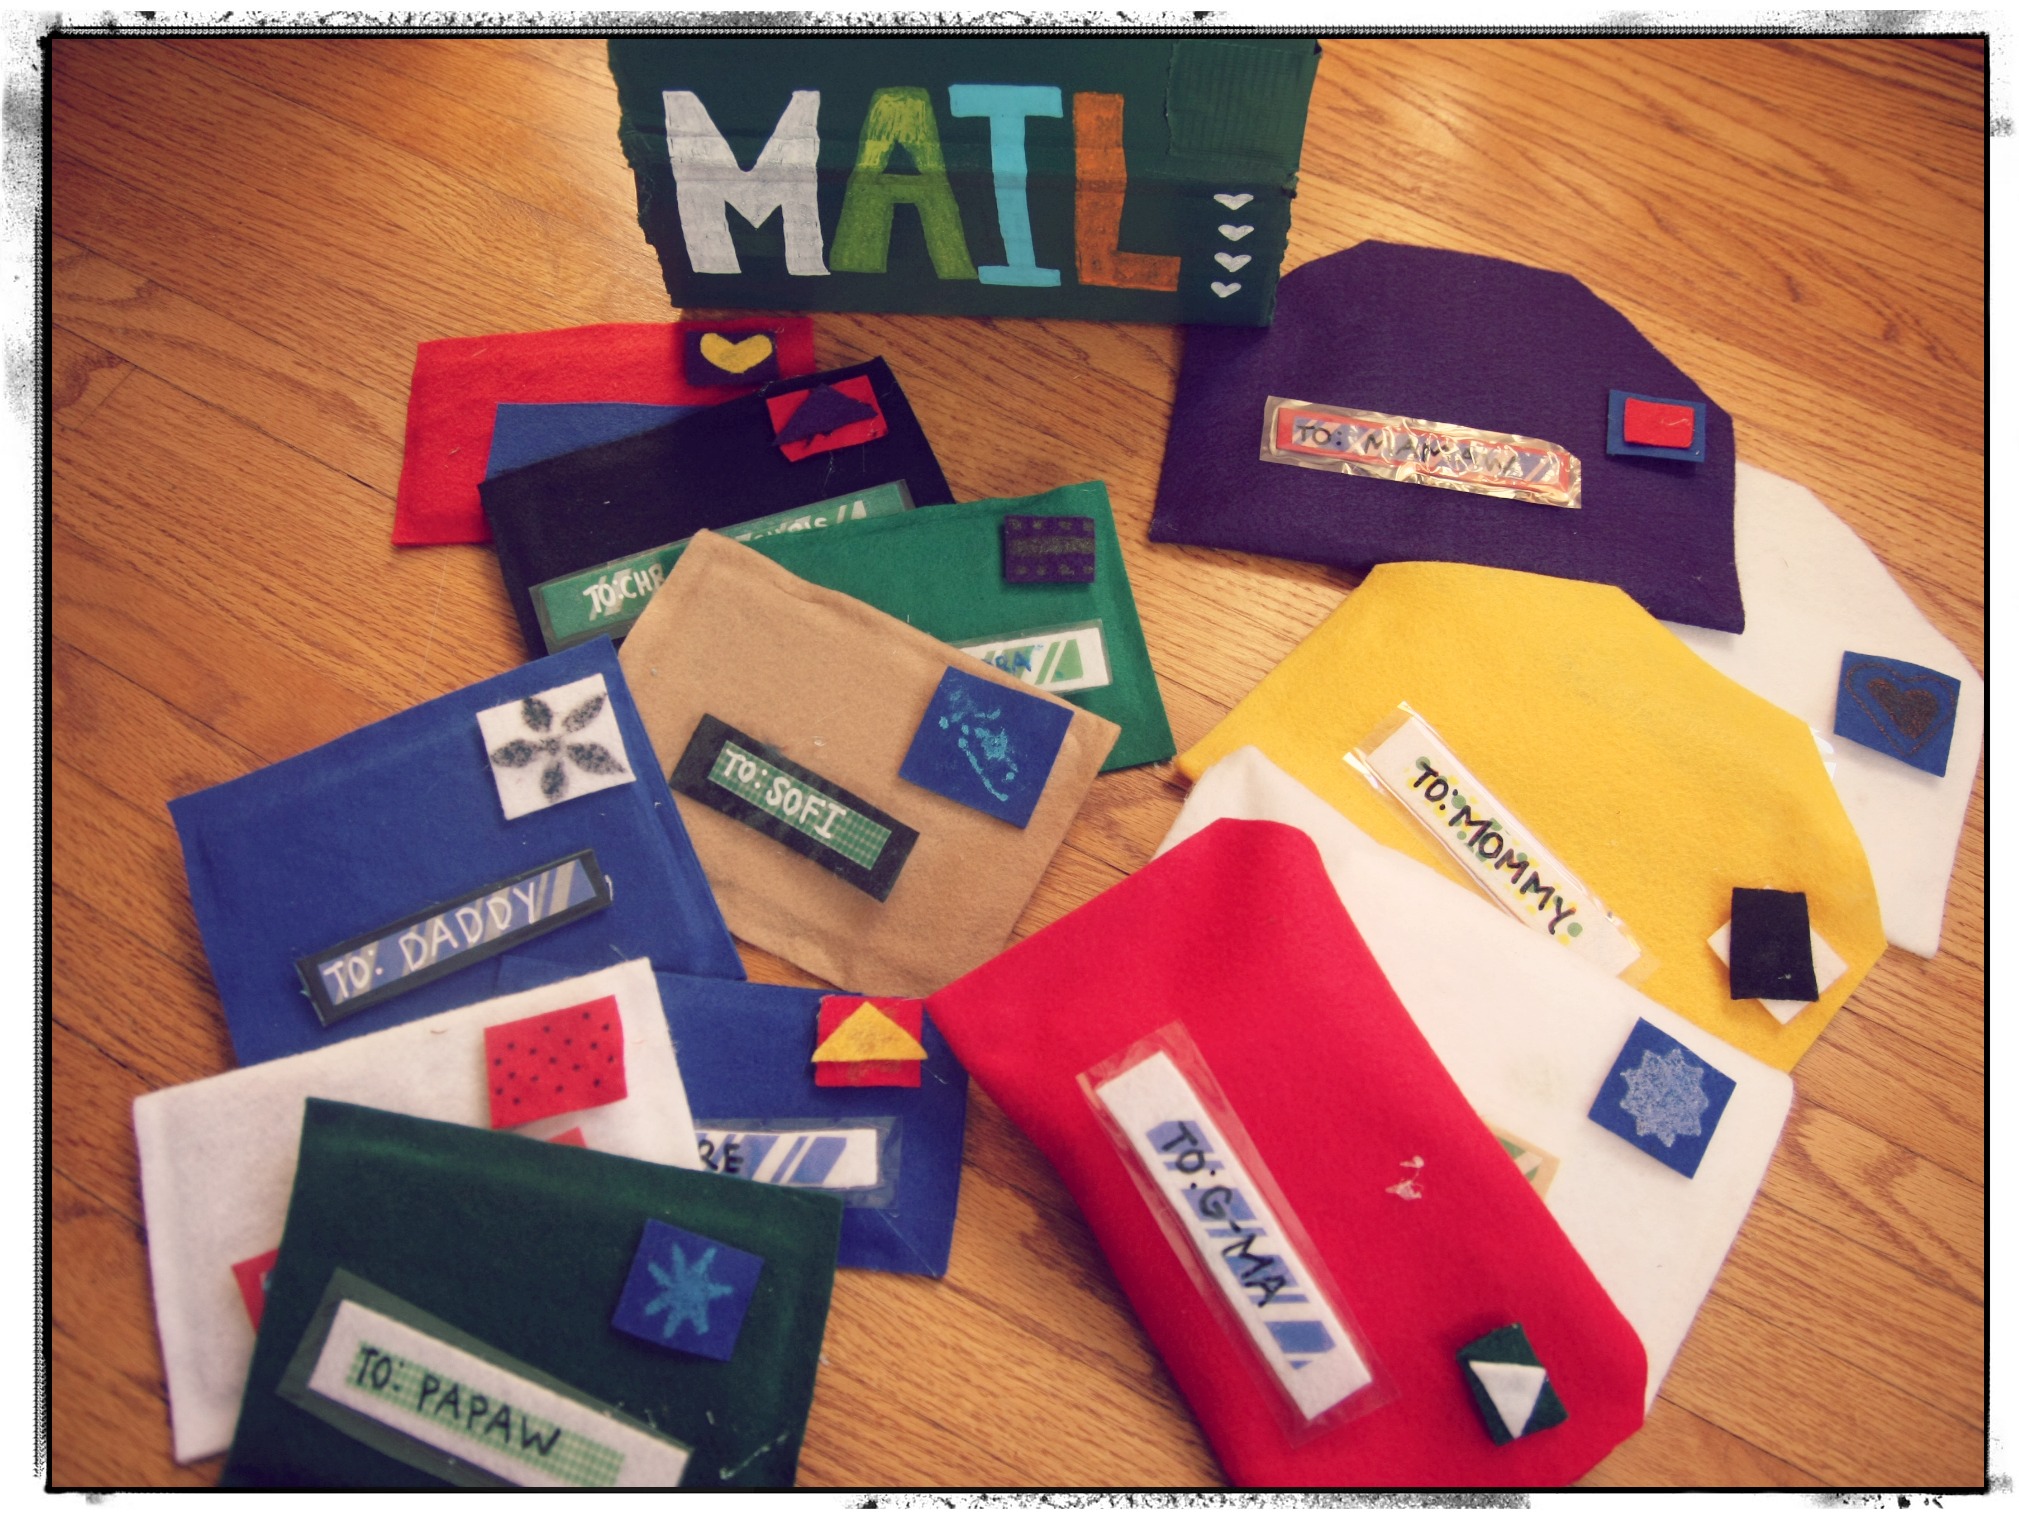
I used scissors and a little glue to make envelopes.
For the postcards, I was inspired by this post.
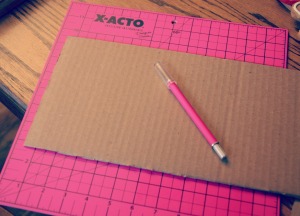
I cut out postcard-size rectangles using my X-ACTO knife and Self-Healing Mat (fun toys!).
I then used my new scissors to cut out pieces of felt that were slightly larger than my cardboard pieces. Then I glued the felt on the cardboard and trimmed the excess. Easy.
On the front of both envelopes and the postcards, I added pieces of velcro to where the stamps and addresses/names would go. (That way she can vary which names and stamps she uses.)
The next step was to make the actual stamps and address labels. I used the tracers to make sweet little designs on the stamps. My little helper freehanded a few designs as well. I then added velcro.
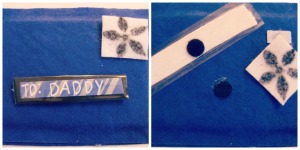
For the names, I put some of the pretty tape from the crafting kit on small rectangles of felt. I then used the paint markers to write names on the tape/felt combination–Mommy, Daddy, Mamaw, Papaw, G-Ma, G-Pa, Sofi the Dog (What? Your dog doesn’t get snail mail?). To make these more durable, I laminated them. Clear packaging tape would also work. I then added velcro to the backs of these.
Finally, I added a few pieces of heavy card stock to the envelopes. A few had notes from Mommy (“Hi, Baby! How are you? Have you been playing well with your sister today? I love you!”) and a few are blank because my little one LOVES to “write” (scribble) words/letters/notes/lists.
Was this project easy? Could I do it while nursing a baby, wrangling a toddler, or watching TV in the evening? For the most part, yes. Although there were definitely a few things (hot glue! the X-Acto knife!) that required two hands and my full attention. All in all, I think it will make a great cheap and fun present for my little girl.
However, should you want to share the love of snail mail with your little ones without breaking out the scissors, cardboard, and glue, check out this Stamp and Sort Mailbox and this My Own Mailbox set. They look fun!
Mail and Play Mailbox Materials
X-Acto knife
Decorative shape templates (Tracers)
Scissors
Ruler
Paint markers (Painters)
Designer tape
Felt
Velcro
Hot glue
Spray paint
Cardboard
Duct tape






Hey there! Thanks so much for linking up at LCL!
This is such a great project! I especially love the little felt envelopes – so cute!!
Thanks for hosting the link party! How fun!
This is such a sweet project and so fun for your daughter.
P.S. Love your humorous writing style (“she can be SO childish sometimes). Makes me smile. 🙂
Aww, Ann! Thanks for the encouragement…I never know how attempts at humor will comes across in writing! 🙂
I absolutely love this mailbox and post Rachel. I used to play pretend mail all the time when I was little. Can’t wait to make this for my son.
I can’t wait to see your version when you do! I know it will be adorable!