Hi there! Thanks for visiting! We’d LOVE for you to hang around! Like us on facebook, follow our board pinterest, and/or subscribe by email to be sure you don’t miss an update!
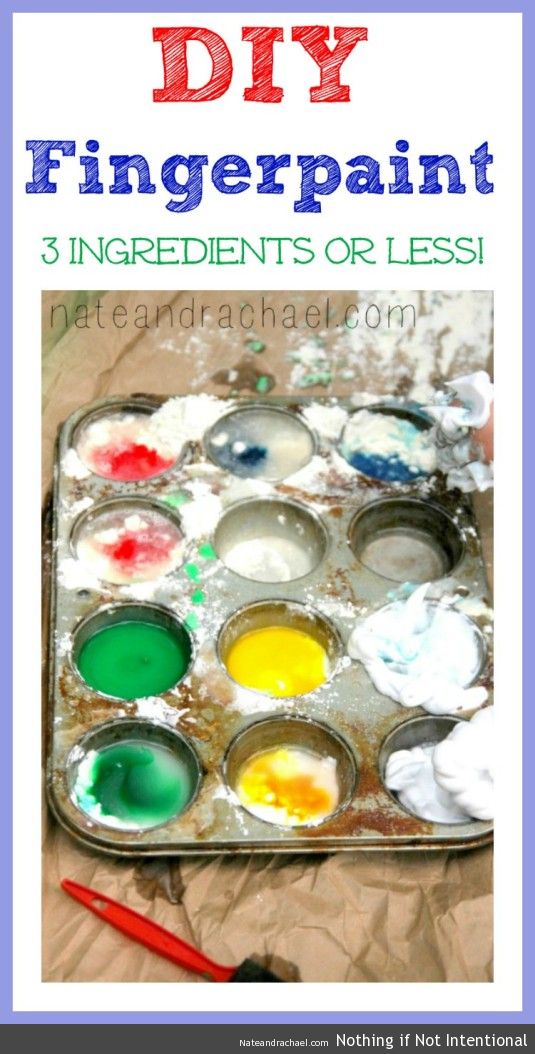
I don’t think I can blog about kids’ activities and not have any mention of homemade finger paint on my site. But that’s about to change. The little four-packs of paint from the dollar store just aren’t cutting it anymore. There’s not a lot of paint in them, and the color options are boring. Thankfully, I happen to follow a few amazing bloggers who know a thing or two about homemade finger paint. We decided to test the simplest options (3 ingredients or less!) and let you know which homemade finger paint recipe we prefer. When you have a toddler and a baby, super simple is good.
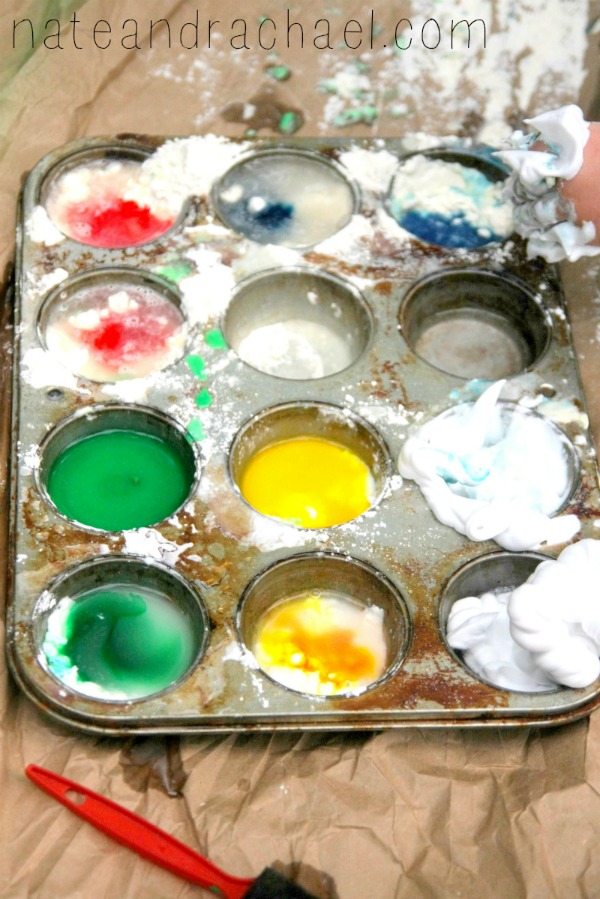
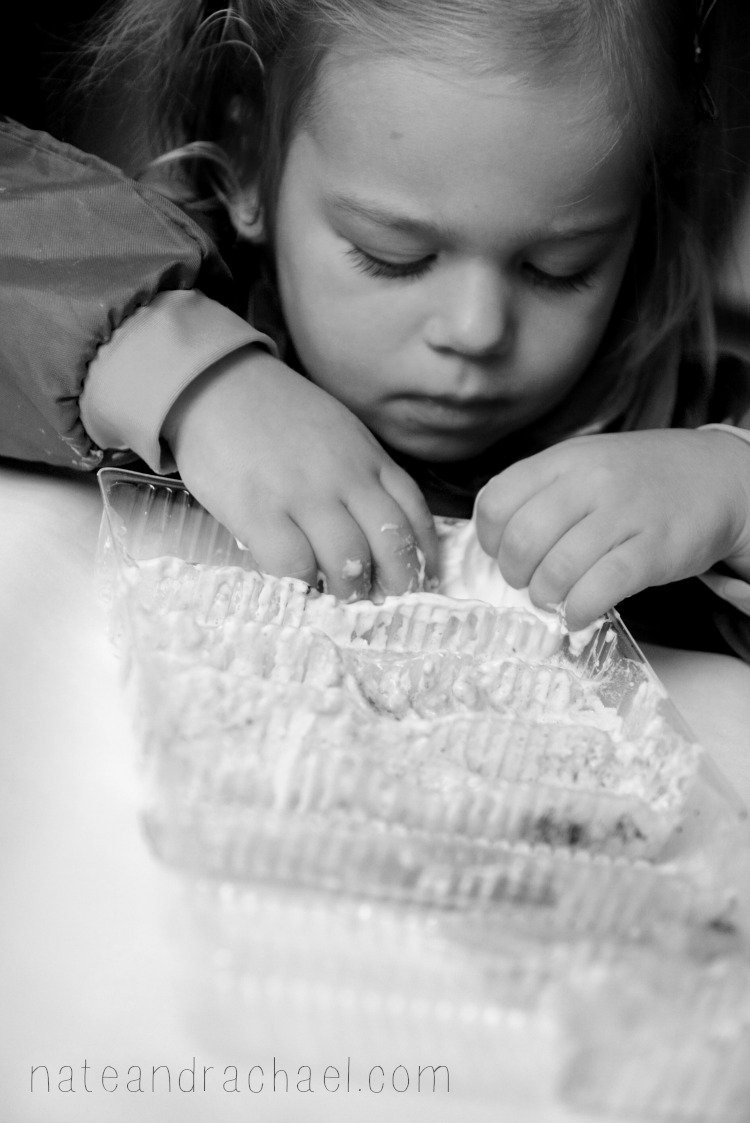
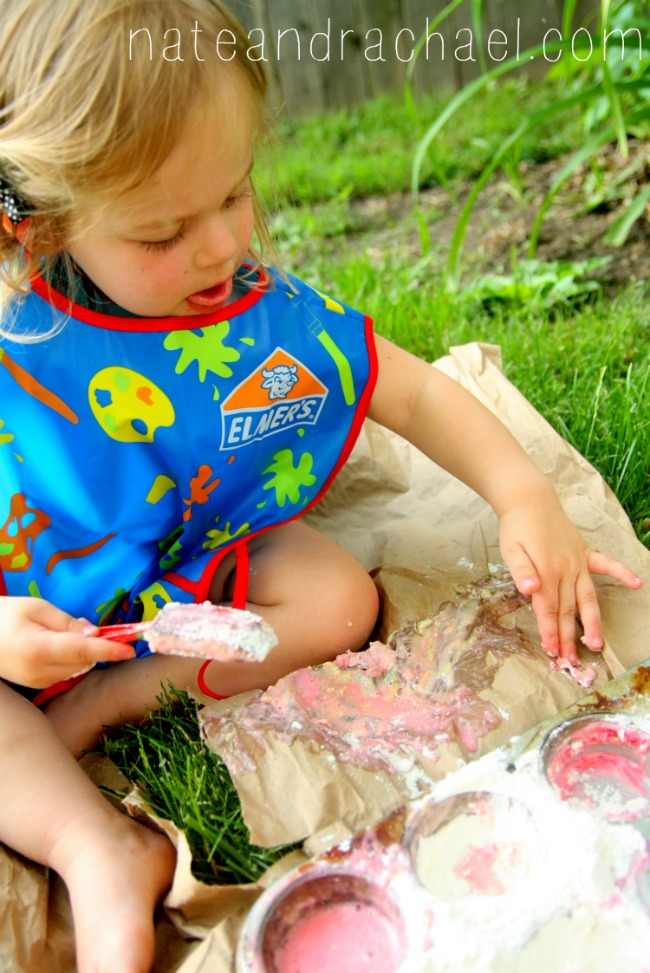
For our first paint test, we started with muffin tins and a realllllly long sheet of brown paper that came in one of our boxes of diapers from Amazon. The second time we did this, I made our paint in the plastic containers from a box of manicotti noodles. If you have some recycling/trash you can use for this project, it’s nice to be able to throw away the mess when you’re finished!
Let’s break the recipes down by edible and non-edible.
Edible Homemade Paint
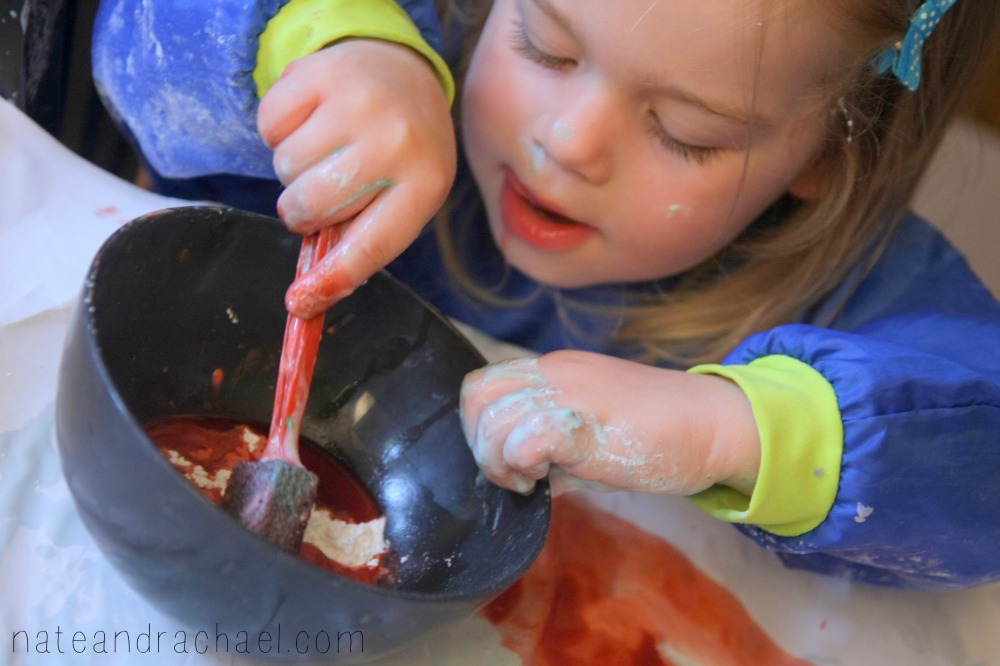
When we had our big paint testing extravaganza, my two-year-old asked, “Mommy, can I taste it?” This first group of paints are the ones that I let her try.
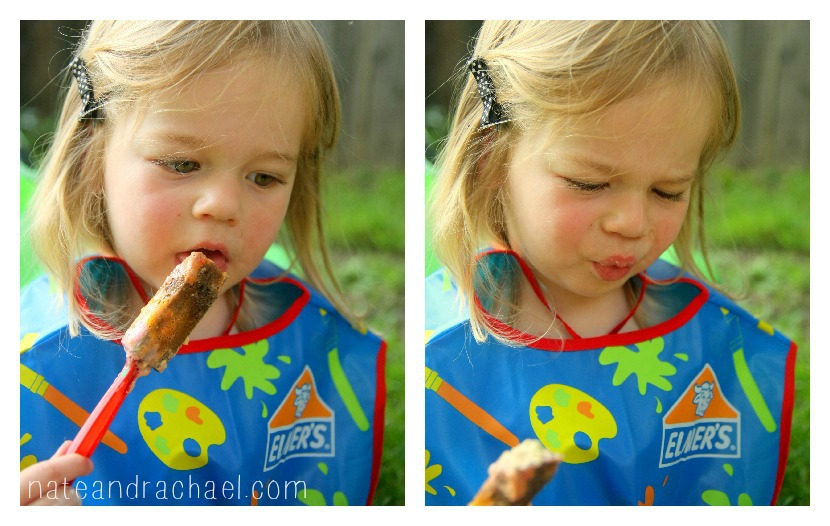
Flour + Water + Food Coloring
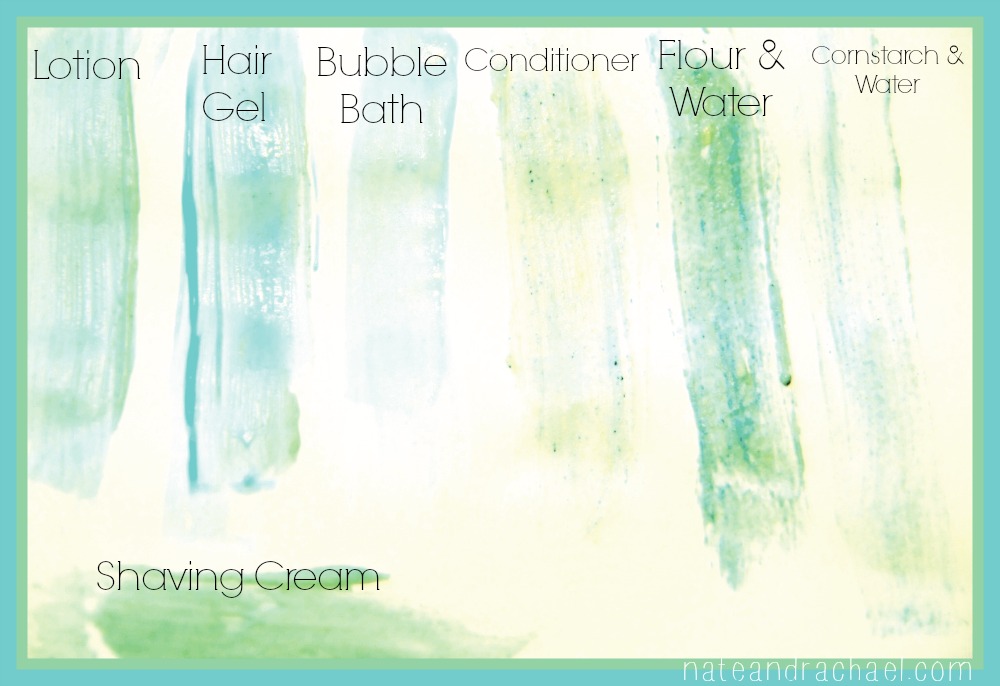
Although flour did not pass the taste test it is turned out to be my FAVORITE homemade finger paint. In my opinion, it has the most paint-like consistency.
If you’ve read any of my recipe posts (these muffins are always a hit), then you know I’m not very precise with my food measurements. So you can bet I wasn’t precise when we made paint! We just stirred some water, flour, and food coloring together and got to work on our masterpieces. The flour + water combo was very forgiving of my haphazard ways and looked great on paper!
Want to make sidewalk chalk spray? Check out this post from Wine and Glue. Wouldn’t you love to get one of these packages in the mail?
Cornstarch + Water + Food Coloring
Some people swear by this recipe. Had I done a better job mixing and measuring, this might have turned out better for us. Buggy and Buddy had better luck with it than I did. Check out their posts to see how cool this combination can be!
Koolaid + Water
If you want BRIGHT colors, try koolaid! It’s unsweetened, so you don’t have to worry about a sugar high or crash should your little one indulge. This “paint” definitely wins the award for best SCENT. Yummy!
Jello + Water
Like the powdered drink mixes, jello is bright and fragrant.
While we’ve yet to try this recipe ourselves, my friend Mary Catherine at Fun-A-Day has a great post on why you should and could try this in your home.
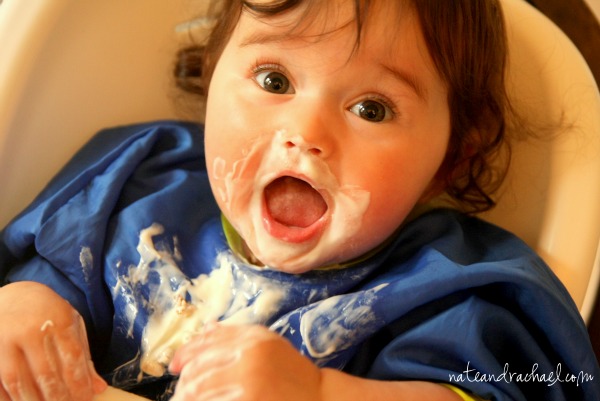
Yogurt + Food Coloring (Safe for Babies!)
We “paint” with yogurt at our house all the time. The baby laughs and smiles at us as she smushes it around her high chair tray, and our toddler uses it as a chance to experiment with color mixing.
I often hear things like, “What red and blue make, Mommy? What about green and yellow?” Child-led learning and play! I love it!
Water + Optional Food Coloring (Safe for Babies!)
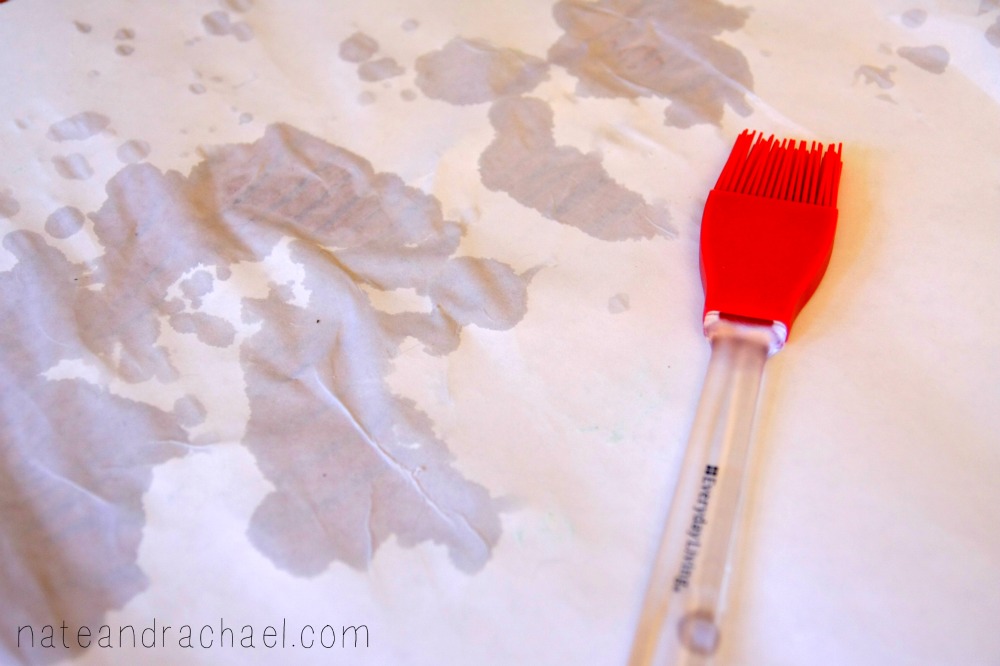
While our toddler was busy painting with the “real” paint, I gave the baby a paintbrush (well, technically it was a basting brush), a smock, and a bowl of water. Smacking the wet brush on the paper was pure joy for our water-loving baby. She was quite mad when I finally took it away.
For older kids, a fun variation is to paint with ice. Check out the details here at Fireflies and Mudpies!
Now let’s move on to the Non-Edible versions. These are best for kiddos who you can count on to keep the paint out of their mouths. You know the ones.
Non-Edible Finger Paint
Shaving Cream + Food Coloring
This is one of our favorites. The paint is very smooth, and you can’t get any more simple than shaving cream plus a few drops of food coloring. If “easy” is what you’re after, make this your go-to recipe.
For a fun way to paint with shaving cream, click on this link from my friend Asia at Fun at Home with Kids!
Hair gel + Flour + Food Coloring
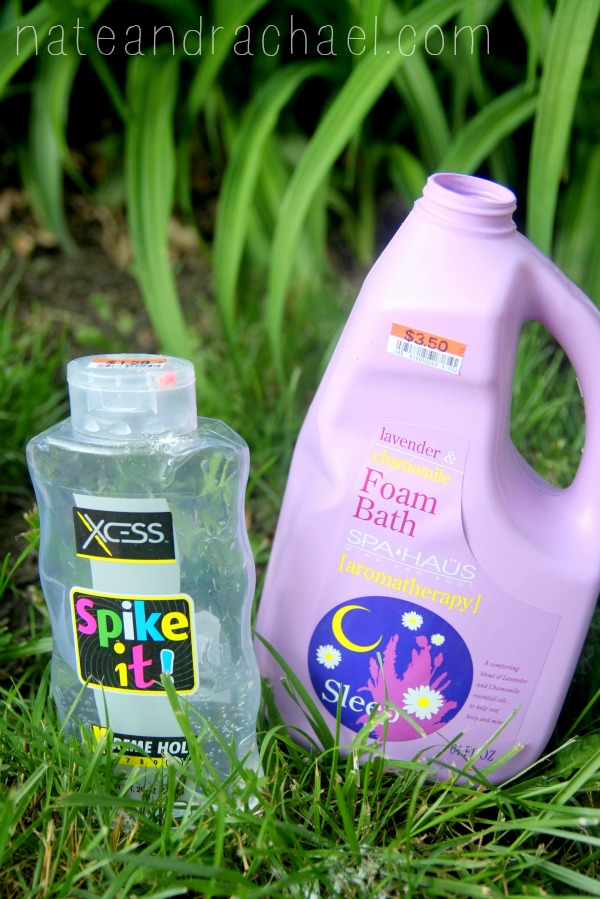
We use hair gel often in our sensory bags (you can see them here), so it seemed like a natural experiment to try painting with hair gel. It was a little runny, so I suggest adding some flour or cornstarch.
Bubble bath + Food Coloring (+Optional Flour)
Our bubble bath was lavender scented; this gave the paint a relaxing scent and a purple tint. Of all the things we tried, this was my toddler’s favorite. She loved the texture! I probably should have thickened it up with flour, but she just loved squishing it in her hands and smearing it across the paper.
Dose of Happy has a variation on this recipe that uses cornstarch.
Conditioner + Cornstarch + Food Coloring
We started with just conditioner, but it was a little runny. Read all about how and why Jessie at Play Create Explore tried this combo in this post.
Lotion + Food Coloring + Flour
Not surprisingly, this was a lot like the conditioner combo. I have a gigantic bottle of baby lotion that I found on clearance that was begging to be used, so this was a very cheap and popular combo at our house.
My personal favorites are flour + water, shaving cream, and yogurt.
My tot liked the texture of the soap and shaving cream varieties.
My baby (10 months) was perfectly content painting with plain water.
The final verdict? With a little liquid, food coloring, and a thickening agent, just about anything will please a little one who wants to paint.
I haven’t seen my daughter so entranced in one our activities since she played with baking soda and vinegar. (Have you tried it?! If not, you should! Read about it here.) She kept asking, “Mommy, you want to paint with me? I want to paint!” So pick your recipe and get painting!
A few notes:
- I can’t speak to how well these save. We use them up right away and make new each time we paint. This is another reason we love simple recipes! For a longer lasting watercolor recipe, check out this post from Jackie at Happy Hooligans.
- Food coloring may stain.
- Want to spice things up? Add fragrance to your paints with natural ingredients using this post from Cathy at NurtureStore or use natural dyes like these from Fun at Home with Kids!
You’ll find this post at some of these great link parties.
I just love these ideas, Rachael! I’m going to pin this in a moment so I can try them all out this summer. I have different ages at my house (1 years old up to 6 years old), and I love how your ideas can work with all of them! 🙂 Thanks for including my “painting with jell-o”, as well!!
I think I’ll have to link this one to Stress-Free Sunday, because these are definitely stress-free recipes! 🙂
This is such a great list of resources and ideas – great for sensory play AND making art. Thanks for featuring our sidewalk chalk paint!
Ness, thanks so much for reading and commenting! It’s fun to be associated with your awesome blog–even if it’s through my own features! ha! 🙂
These are great! I love all of them. We have tried a few of them before but not the ones with soap or conditioner. I’ll have to give them a try.
Jackie–thanks so much for taking the time to read and comment. I’m not at all surprised that you’ve tried these recipes! 🙂 I’m thinking about how you once gave me awesome advice on homemade dish-washing detergent. Of course you love homemade paint! 🙂 If you have other paint recipes, please send them my way!!