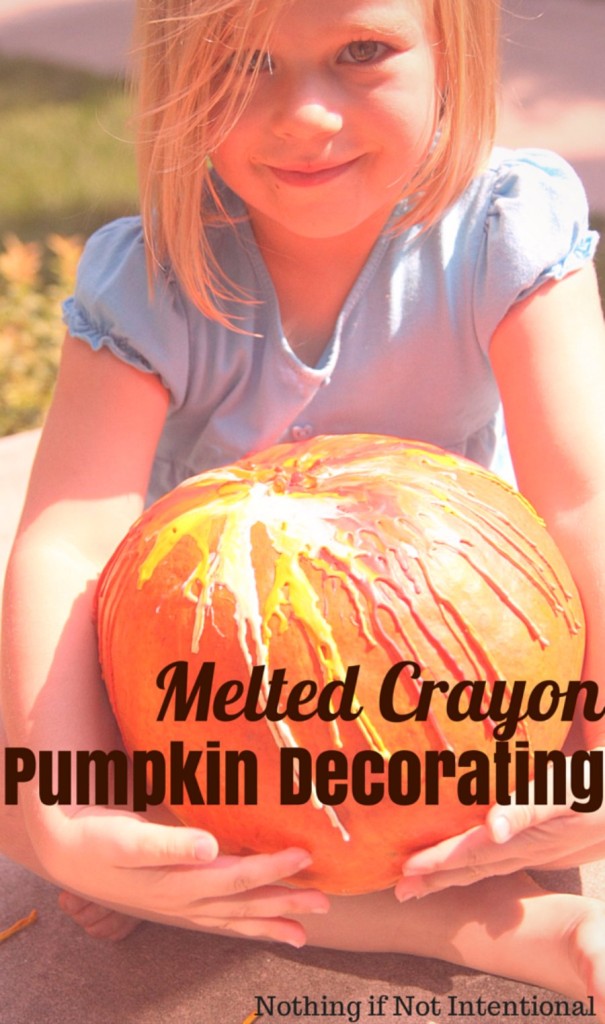
Melted crayons on pumpkins is not a new no-carve pumpkin decorating idea, but this year is the first time we’ve tried it at our house. Thanks to my dad (the pumpkin farmer) we have a lot of pumpkins. So we’re always looking for new decorating ideas!
Here’s how we did it:
Melted Crayon Pumpkin Decorating
- Peel your crayons (I found that soaking them in water first helped them to peel easier). Some kids like to peel crayons. My girls do not.)
- Cut/break crayons in half.
- Choose your crayons & color pattern. We used fall colors, but I love the rainbow pattern I’ve seen other places.)
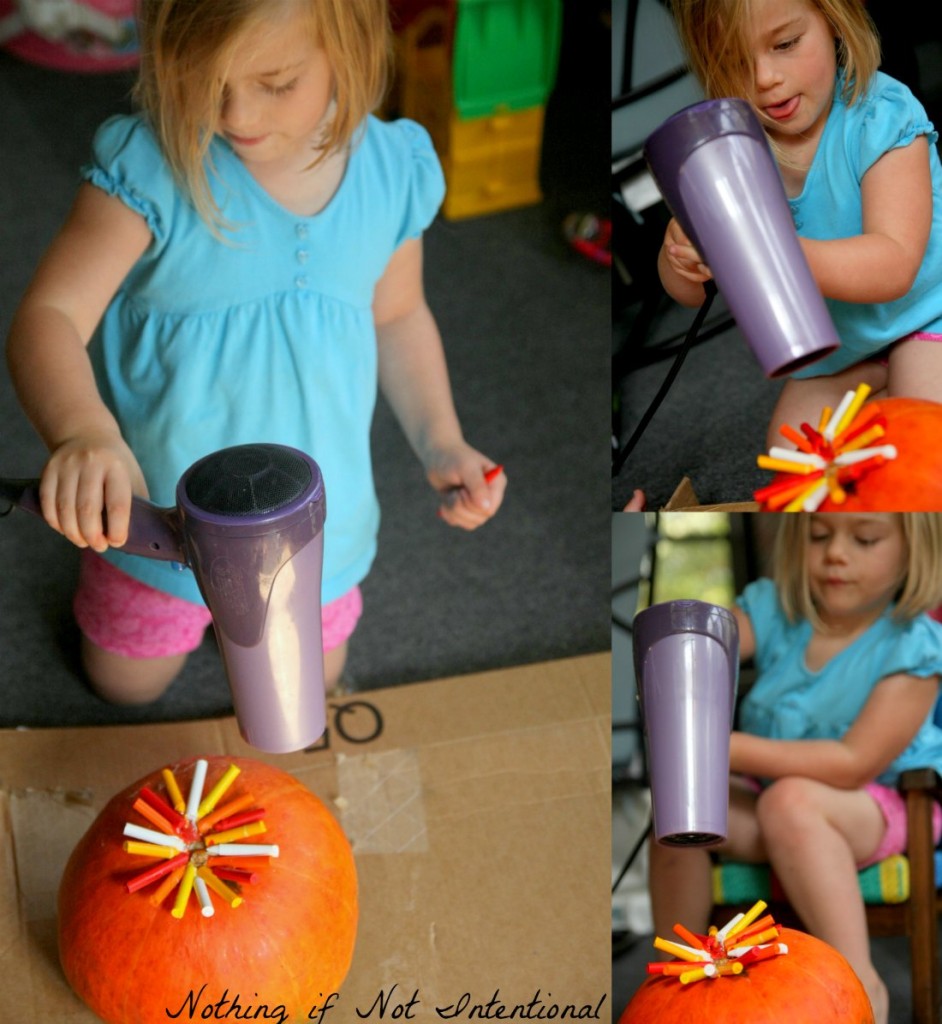
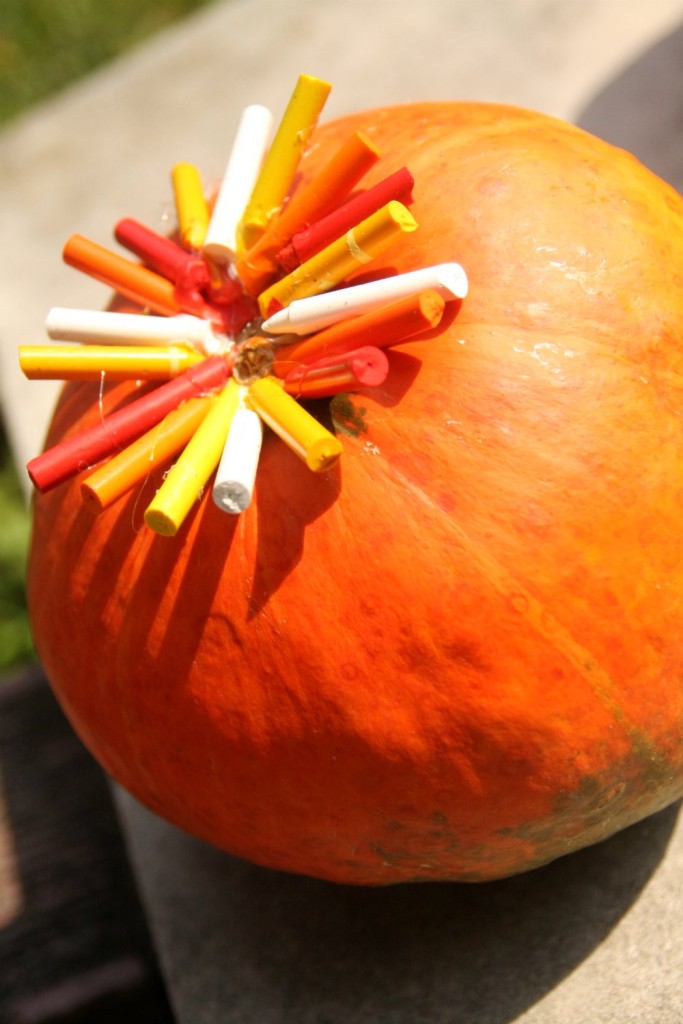
- Arrange crayons on your pumpkin. We used 9 whole crayons/18 pieces.
- Secure crayons to the pumpkin using a quick-dry tacky glue or hot glue.
- Protect your area. (Crayons can splatter more than you think!)
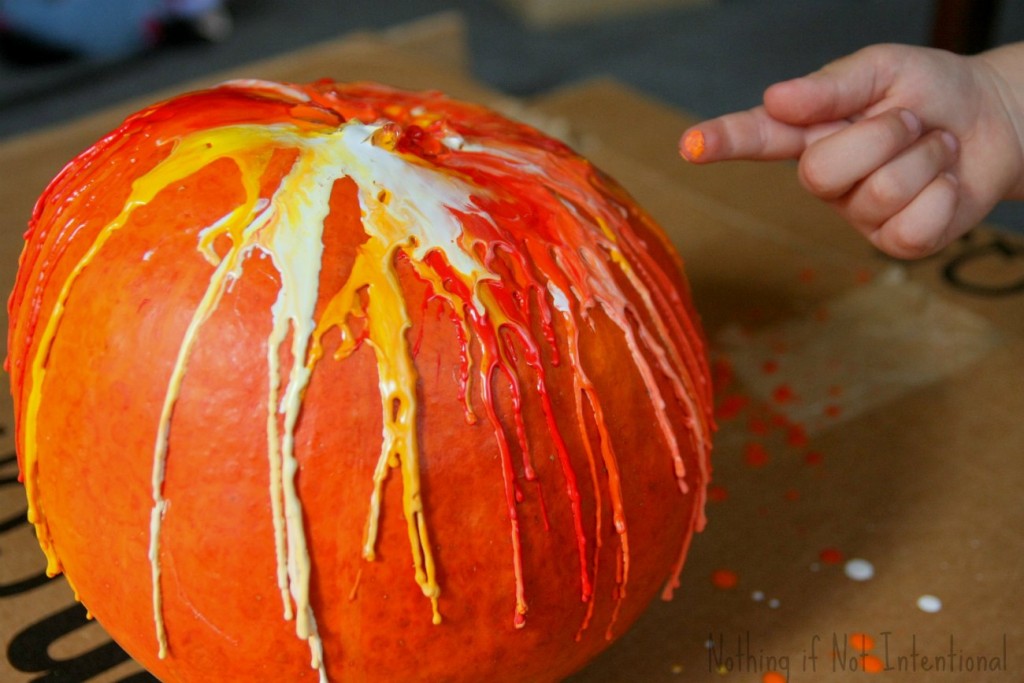
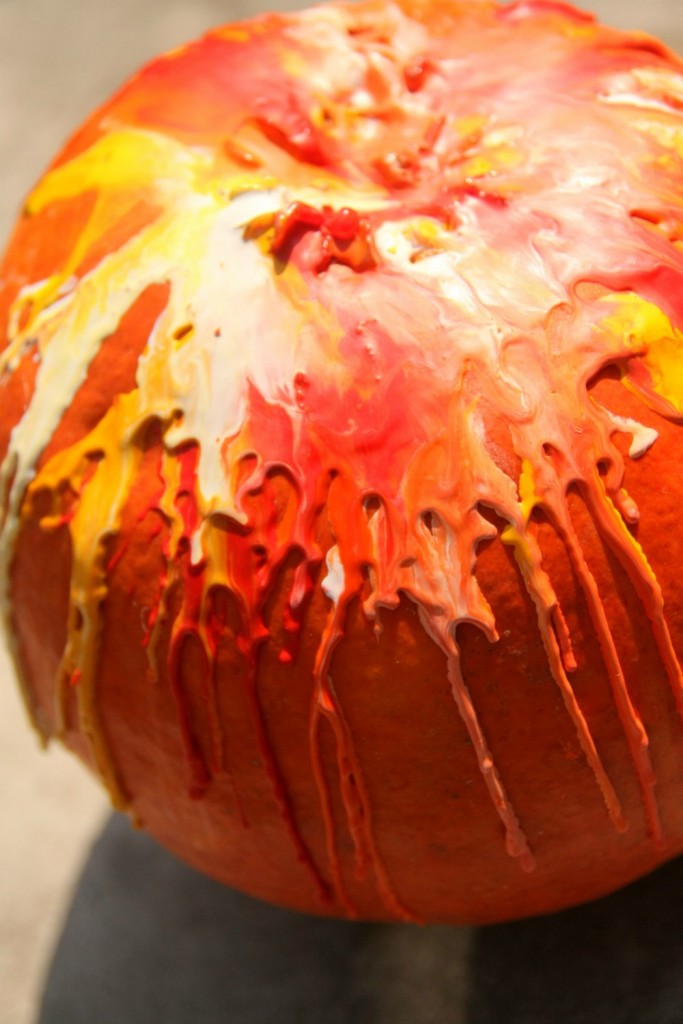
- Use a hair dryer to melt the crayons and drip down the pumpkin.
My girls took turns with the hair dryer. My two-year-old kept exclaiming, “It windy! It hot! It burned-ed me!” whenever the warm air blew her way, so she quickly decided to just sit on my lap and watch big sister take over the melting.
The finished product looks pretty cool, right?! And way easier than carving with kids for Halloween!
This week for our preschool co-op, I was in charge of the take home activity. I sent home instructions for melted crayon pumpkins and a baggie filled with peeled crayons.
The week before, our co-op had visited my dad’s pumpkin patch, so I knew they had plenty of pumpkins already! 🙂
If you need another no-carve decorating idea, we keep coming back to this one.
