Thanks for visiting! If you’d like to read more kids’ activity ideas and family travel tips, follow our blog on pinterest, subscribe by email, and/or join the conversation on the Nothing if Not Intentional facebook page!
This post is part of the “31 Days of the ABCs” series. Can you guess what letter I have? “A” is, indeed, for airplane. Link up your “A” themed ideas at the end of this post, and follow the series throughout the month of October to find (and contribute) activities and ideas for each letter of the alphabet!
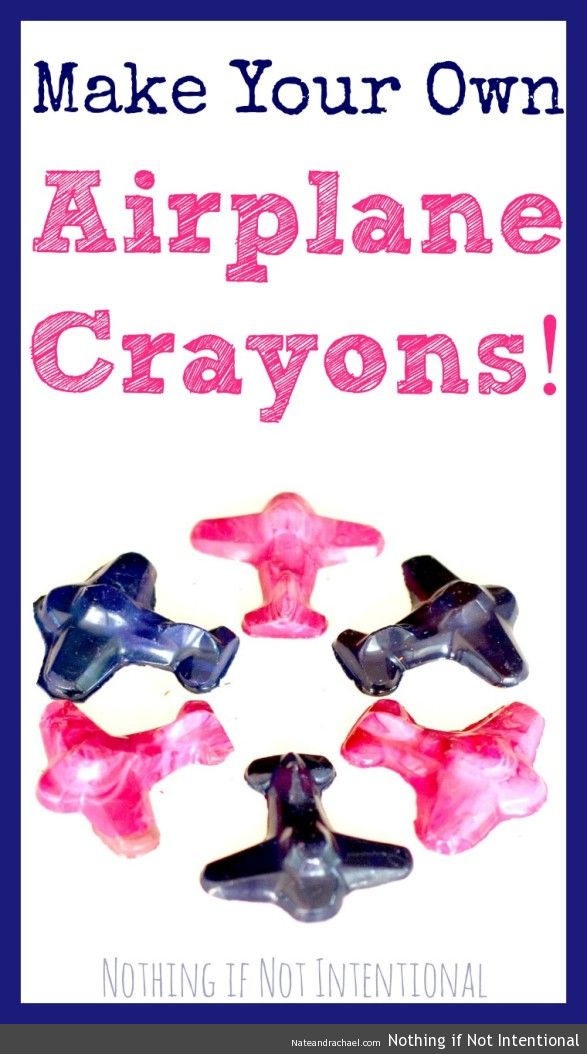
Our daughter’s third birthday party had a darling pink airplane theme. For the favor bags, I realllllly wanted to include airplane crayons (’cause they’re adorable!). An etsy vendor agreed to provide them for the party but then apologetically backed out at the last minute due to a big move. What’s a party-planning mom to do without her etsy crayons?
Make her own!
This was our first attempt at making recycled crayons, and it was surprisingly easy! Nate gently pointed out that it’s just melting wax; it’s not supposed to be hard. So let this be our encouragement to you: it’s just melting wax! It’s not so hard! You can do it, too!
Here’s what you’ll need:
- Old pot*
- Crayons (approximately 1 per airplane)
- Airplane mold (this is the one we used.)
*Should you want to use one of your good cooking pots, use a double boiler crayon-making method like this one from One Perfect Day.
Step one:Separate your crayons by color. This was my favorite way to include my little birthday girl! She loved dividing the different colors into their own little groups.
Since we were making 75 crayons, we had to buy new boxes of crayons (Crayola worked well), but of course you could use the old, broken crayons you’ve collected over the years.
Step two:Remove the paper. This was by far the most time-consuming step.
Step three:Add one color group to an old pot on the stove. Again, this was a job for my little helper.

Tip: If you’re going to make several batches, I suggest starting with lighter colors first. We weren’t too concerned with cleaning out all of the wax if we were making progressively darker airplanes. If you go dark to light, the darker colors will darken the light-colored airplanes.
We found that one regular crayon made approximately one airplane crayon in our mold.
Step four:Melt. If you’re pouring the wax into plastic molds like we did, be sure that you’re melting– NOT boiling. I overheated one batch and it warped my mold a bit. For us, the ideal melting time was about 3 minutes on low heat. You can see the progression in the collage below. Whaddya think? Do I have a future in time-lapse photography? 🙂
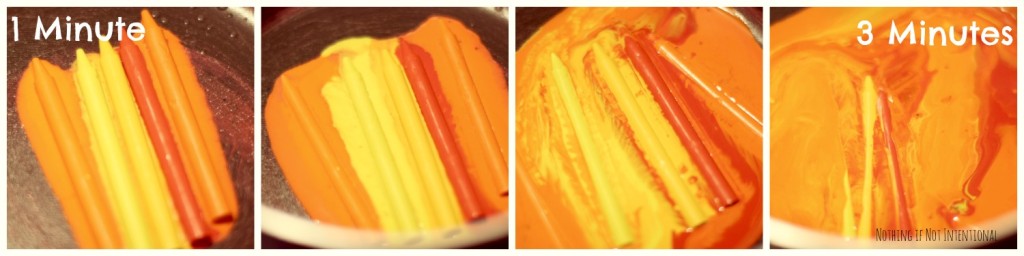
Tip: This is a great opportunity to show your little ones about how solids turn to liquids when they’re heated! When I asked my daughter what the crayons were doing, she said it looked like they were peeing. Uh, okay, sure? Perhaps we’ll have to find another way to drive home the solid vs liquid lesson?
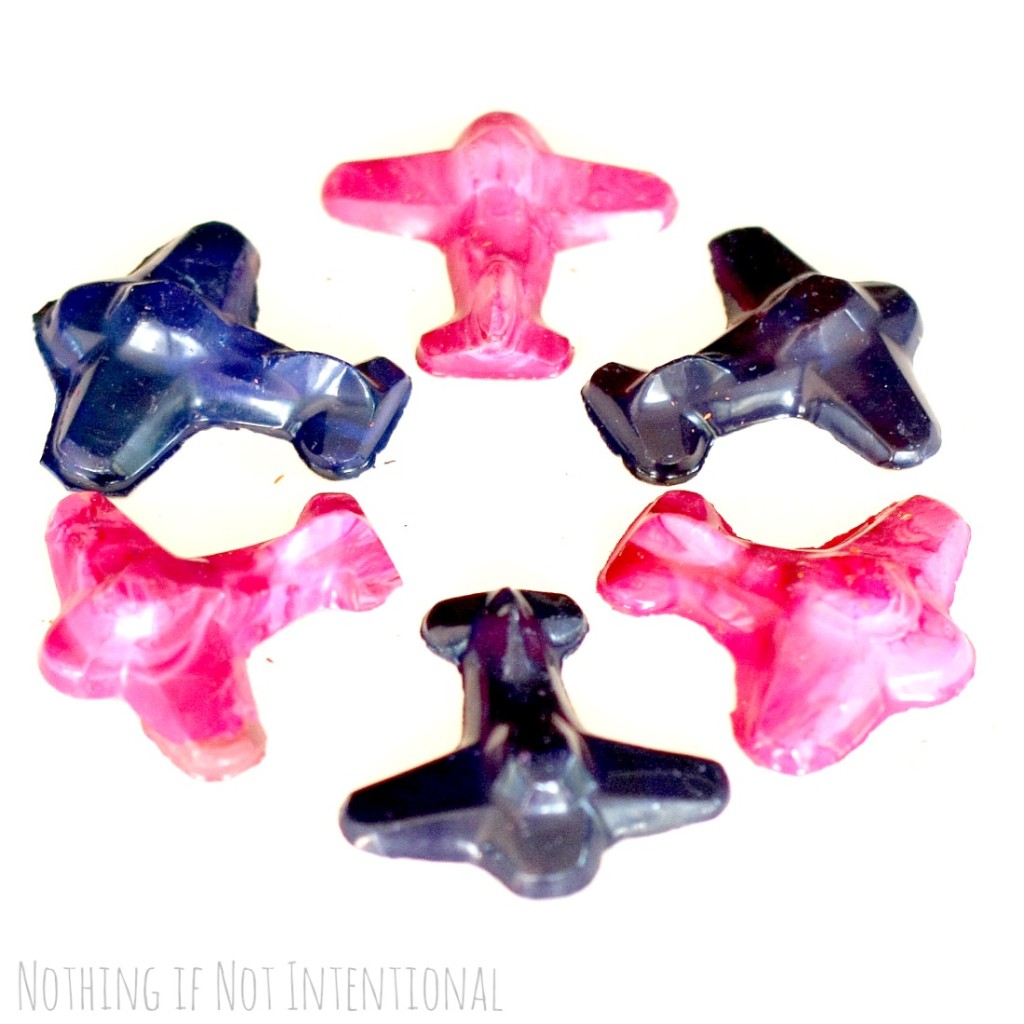
Step five:Pour your melted wax into your molds. This is definitely a job for the grown-ups.
Step six:Cool. We popped ours into the refrigerator for about 15 minutes.
Step seven:Gently remove the cooled planes from the molds. If any of the wax leaked outside of the mold, just break it off as close to the edge as you can get. Then you can file the edges down by coloring on a bit of wax paper. Actually, I bet ANY paper would do. I just happened to use wax paper.
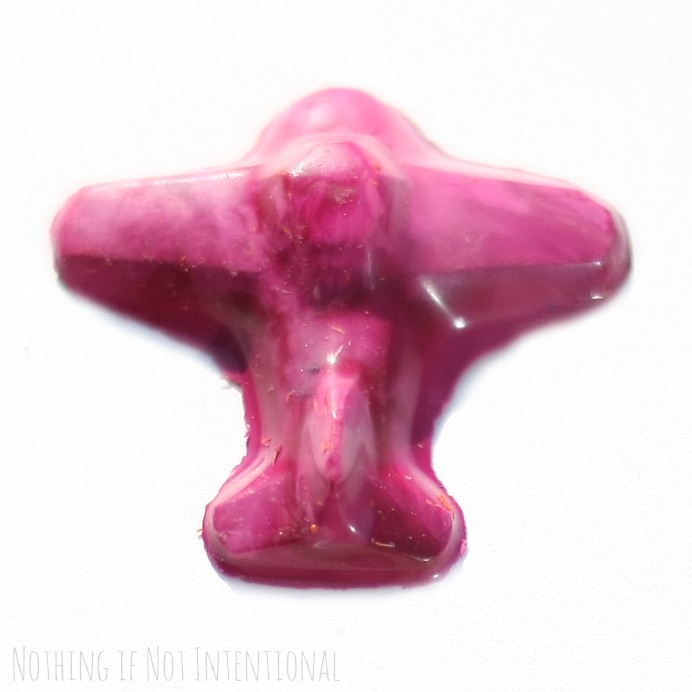
Tip: A few will break. A few will have weird edges. I recommend making extras to replace the broken ones and being okay with a little imperfection. 🙂
Do you have any “A” posts to add that might help a child, family, or teaching learning the alphabet? Link them here so that others can learn from you! And be sure to check out the other fabulous alphabet posts that are coming your way this month!
They look so cool melting down! Love 😀
Thanks for saying that! I almost didn’t include those pictures. 🙂
Hi Rachael. Thank you for sharing this! This would be fun to do with my kids to make gifts to give to their friends 🙂 We have had lots of old crayons given to us, which is great, but we really don’t need quite so many. Now I know what to do with all the extras and little pieces!
I found your post on Blogging Homeschoolers Daily Post Share.
Yes! It’s a GREAT way to recycle crayons! THanks for stopping by and commenting. I’m off to visit your site! 🙂