Thanks for visiting! If you’d like to read more travel tips, kids’ activity ideas, or stories from life with our two girls, follow our blog on pinterest, subscribe by email, and/or join the conversation on the Nothing if Not Intentional facebook page!
This post is part of a short series about our daughter’s pink lemonade and pinwheels first birthday party. Be sure to check out this post for all of the fun party details!

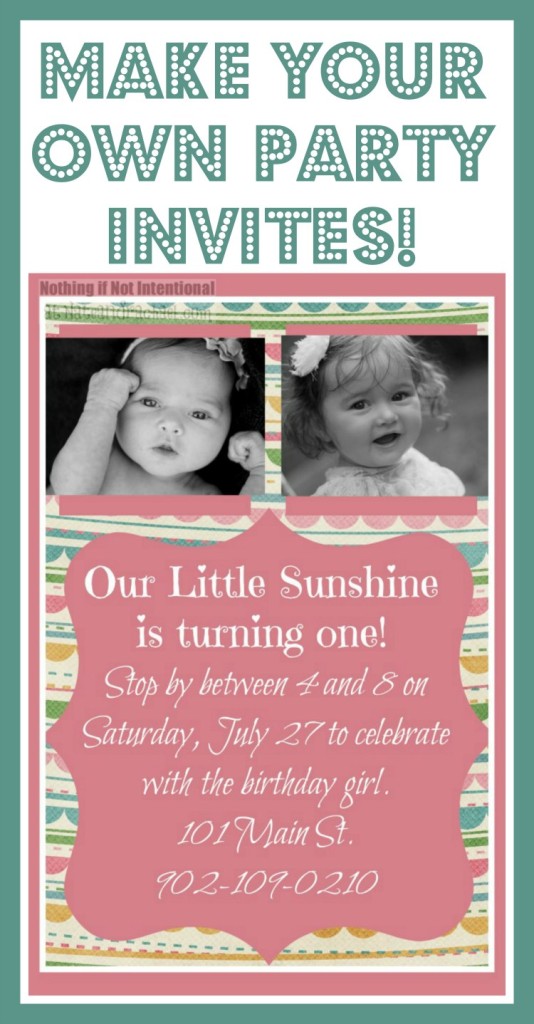
For our baby’s first birthday, I realllllllllly wanted to pay someone to design our invitations. She’s only one once, right?! But I resisted. (Barely.) Instead I decided to use picmonkey to design my own.
Wanna see how I did it? Of course you do!
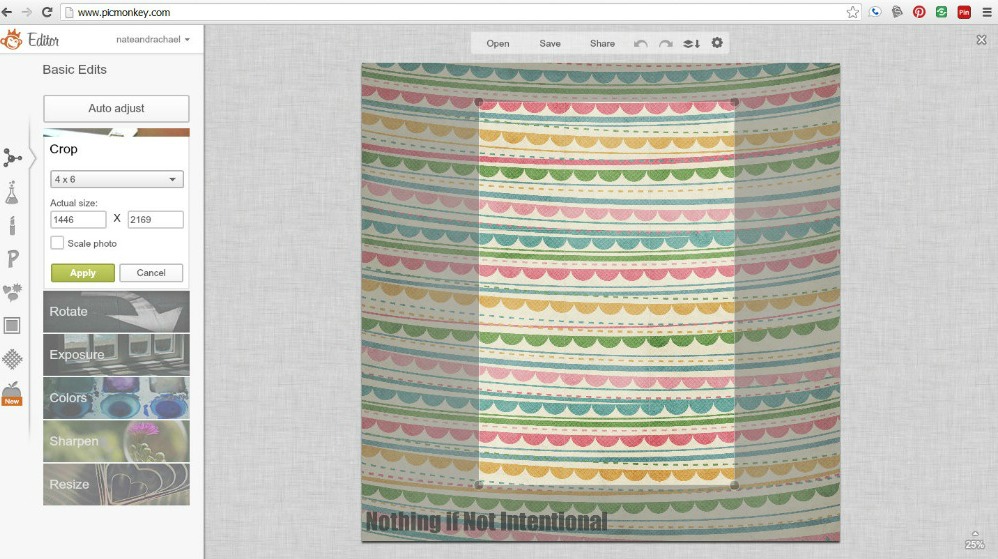
1) First things first: choose a background. I searched for “free downloadable scrapbook paper,” and found options I LOVE from Karen Lewis Designs! I downloaded my favorite and then uploaded it as a picture to picmonkey.
2) I like to print my invites off as pictures, because this is a HUGE money saver. So crop to 4 x 6 to give you an idea of your space.
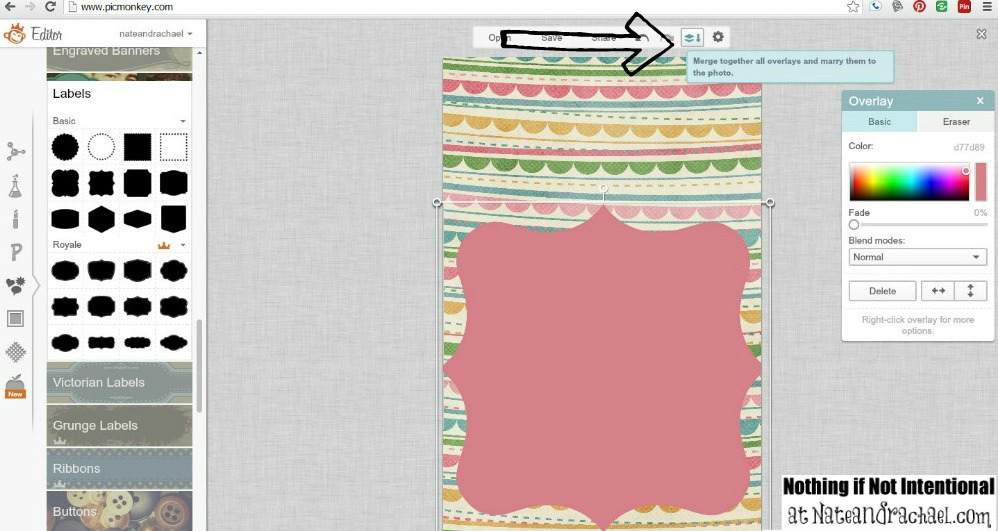
3) Add a “label” to define the area where you are going to include text. Use the “dropper” feature to match the label color to one of the colors in your background.

4) Once your label is the right color, size, and position, merge your layers. This makes it so your label/background doesn’t move later as you work with your text. See where my arrow is pointing in the picture below? That’s the merge function.
5) Add your text. Play around with different texts and colors to see what works best for you. 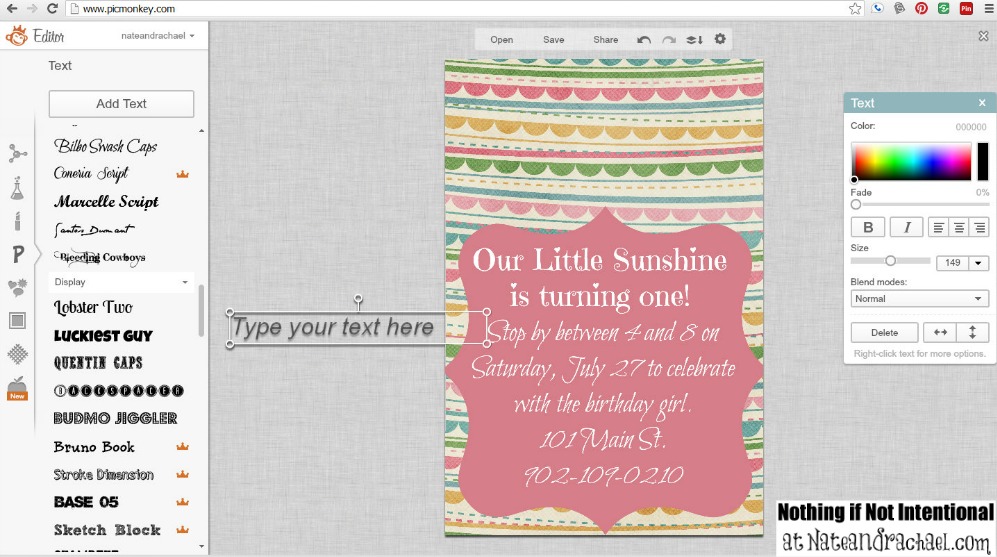
6) To make the invites more personal, I like to add a picture or two. I used one from when our baby was a newborn and another from closer to one year. To add pictures, go to the “overlay” feature and choose “Your Own.” You can then upload any picture and lay it on top of your design.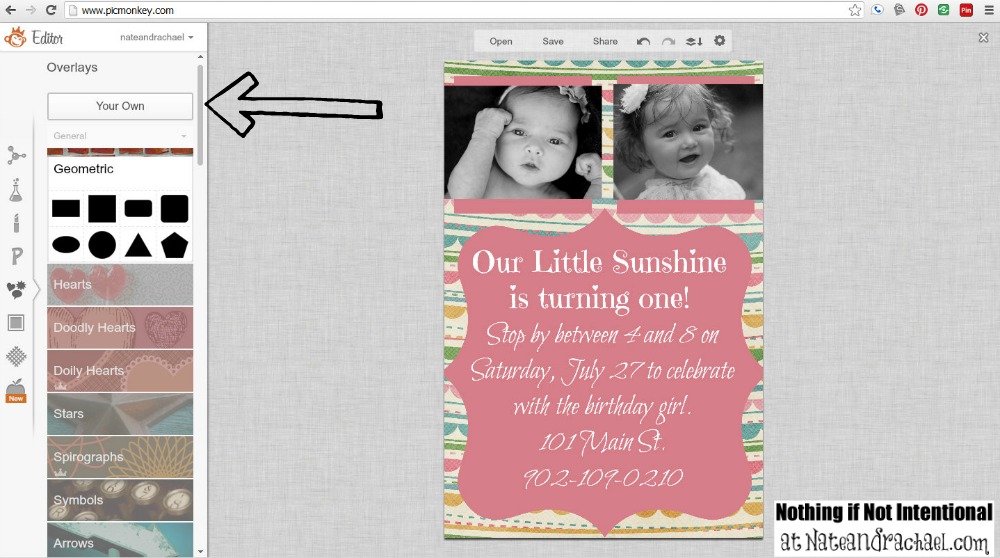
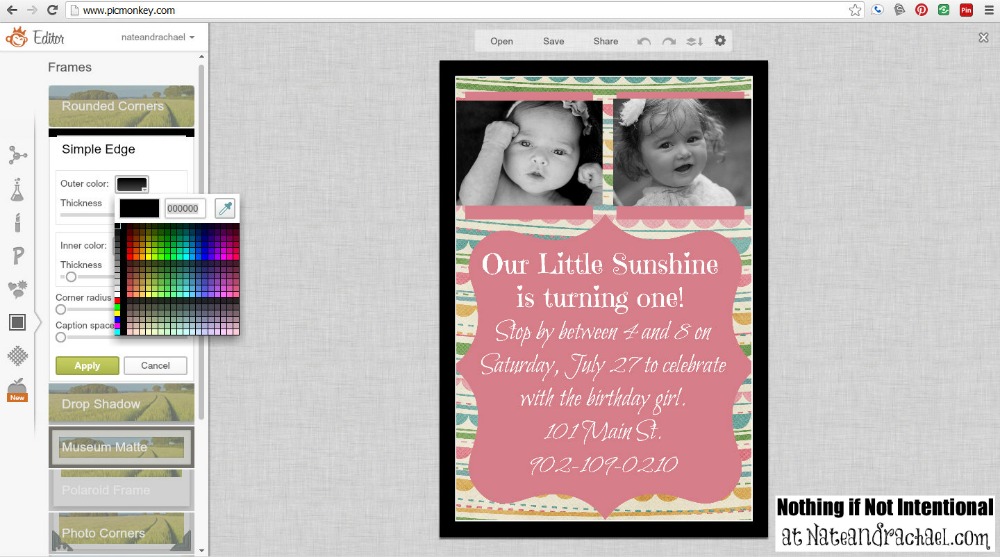
7) Define the area with a border in a coordinating color. Again, use the “dropper” to match other colors in your theme.
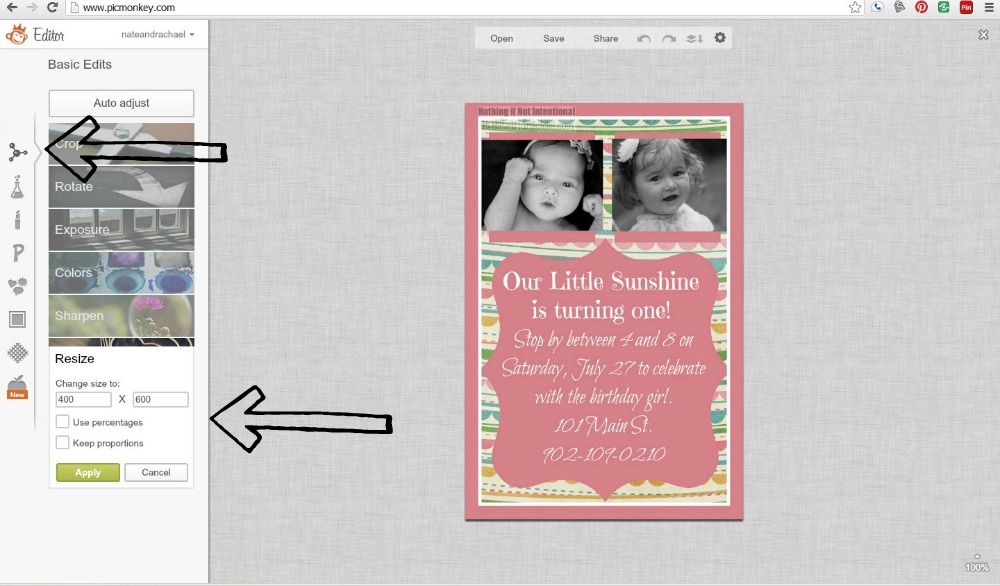
8) Resize to 400 x 600. (Uncheck “keep proportions.”) If you don’t resize and you print as a picture, your carefully-designed invitation could be cut off!
9) Save, print, deliver. Easy and adorable.
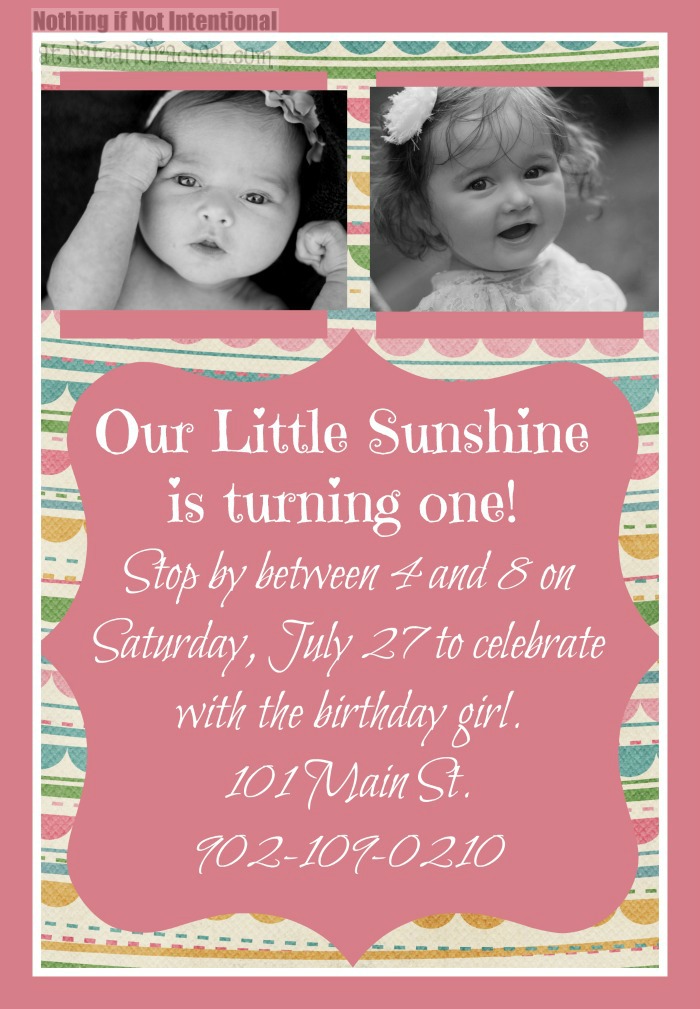
Here’s the original version I used:
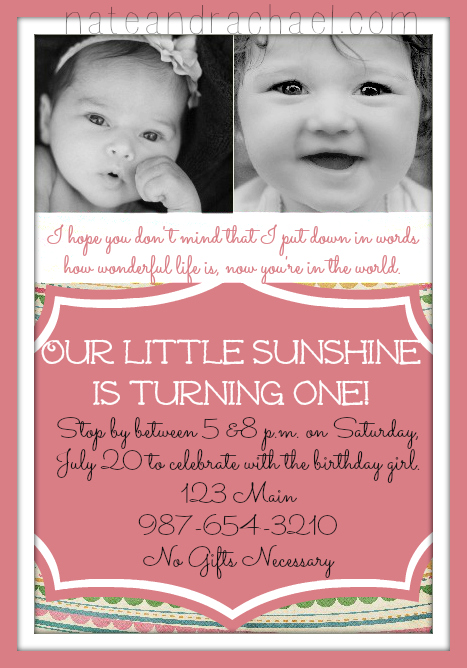
Guess how much it cost me to make and print 30 of these invites? $2.80. Yep, that’s it! Again, I just printed them as regular pictures. (And I found a free shipping promo on photo prints.) What a deal, right?
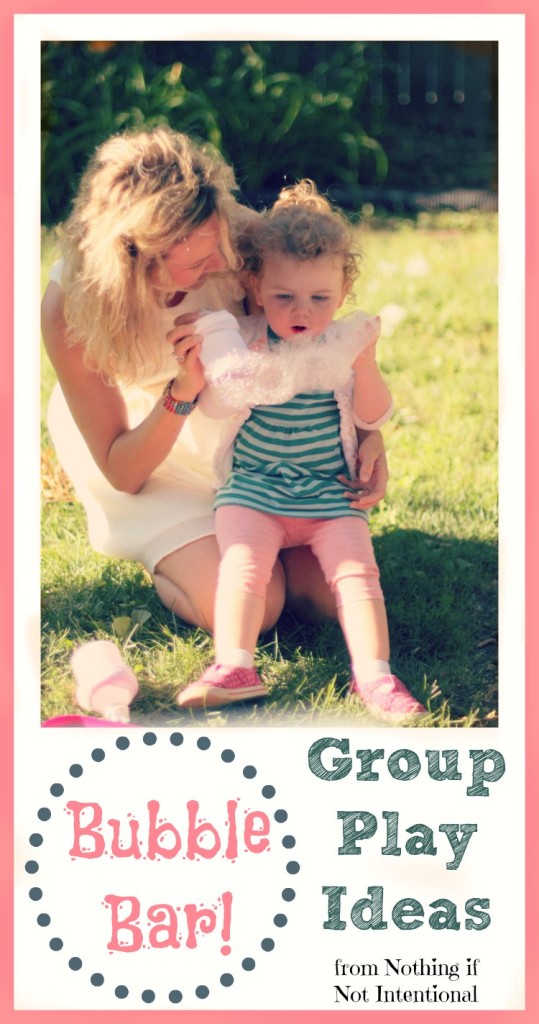
Of course invitations are just a small part of the birthday fun. I had a blast watching the kids play in our bubble bar. What’s a bubble bar? Check it out by clicking on the picture or link: Bubble Bar for a Birthday Party.
3 thoughts on “Make Your Own Invitations–Easy and Adorable Tutorial!”