I’m happy to be once again sharing ideas as part of a three-day blogging series with some of my favorite friends and bloggers–Ann from My Nearest and Dearest, Jessica from Play Trains!, Chelsey from Buggy and Buddy, and Mary Catherine from Fun-A-Day. Based on the weather in North America, is it really any surprise that this time our posts are all about summer?
For today, I wanted to share with you a play recipe that my three-year-old has been asking to make again and again–sunshine clay!
As always, affiliate links included for your convenience.
We first found this air-dry clay recipe in an old Highlights magazine that’s been sitting around our house. I’m not sure how we ended up with the magazine. It was published seven years ago–long before my girls were even born! Regardless of the age, this recipe was a hit. And all of the ingredients are edible, so it’s safe for mouthing babies and tots! We modified a few measurements in this classic recipe and came up with this:

Little sister helped to stir in the food coloring. (Neon is awesome.)
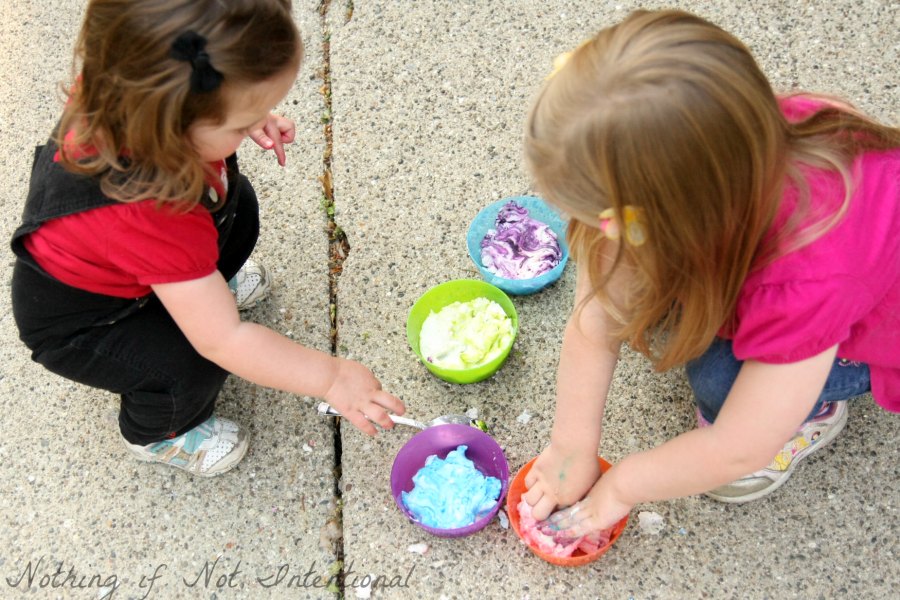
Then big sister needed to knead:
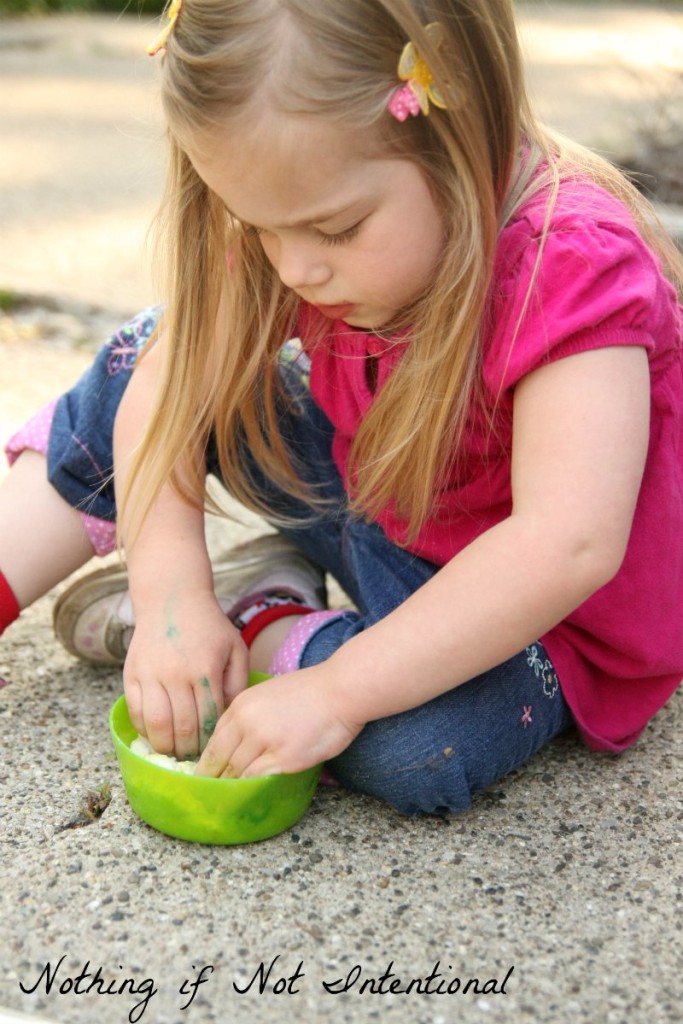
And then she got busy building. She made worms, spiders, a wall, and a house. She’s really into building houses these days.

Our first batch was a little lumpy (as you can see in the pictures above), so the smoother recipe is the first one listed below.
Taste-Safe Sunshine Clay Recipe–Two Ways!
Modified Recipe: Cornstarch + Flour + Water
- 1 cup Cornstarch (like this found on amazon)
- 1 cup Flour
- 1/2 to 1 cup Water
Heat the ingredients on the stove until a thick, stiff, not-too-sticky dough forms. Stir in the food coloring. Mold into desired shapes.
How easy is that?!
If it’s too lumpy and dry, add more water. If it’s runny or sticky, add a bit of cornstarch. I wasn’t very exact with my measurements (I never am!), so feel free to modify and play around with the proportions.
The original recipe used baking soda instead of flour, but I found it to be rather lumpy. On the other hand, it turned out to be harder and more clay-like, so it may be preferable for your family! However, the original recipe is a classic for a reason!
Classic Recipe: Baking Soda + Cornstarch + Water
- 2 cups baking soda
- 1 cup cornstarch
- 1 1/2 cup of water
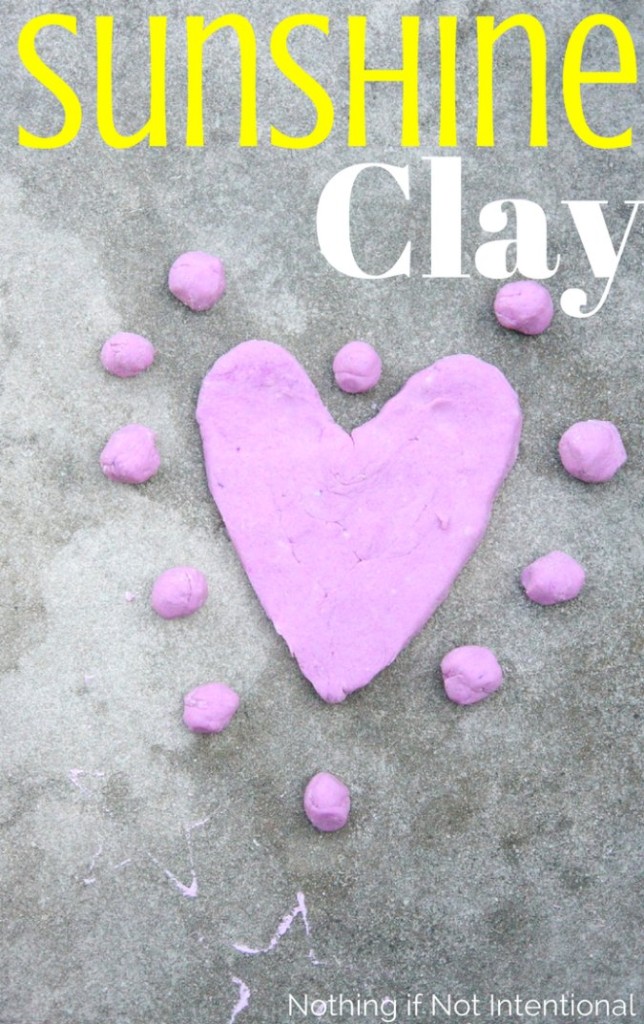
After you’re done sculpting leave your sunshine clay in a sunny place (thus the name) for a day or two to dry! (If it’s a flat object–like my heart pictured below–I like to flip it over after a bit to give the other side a chance to dry.)
You know what goes great with sunshine clay?! The perfect summer smoothie! Get the recipe here.
Before you leave, pop on over and see what my friends are up to this summer!
Summer Art for Kids–Colorful Seashell Sculptures from Fun-A-Day
Fine Motor Sun Craft from Buggy and Buddy
Toy Surfboard Craft for Kids from Play Trains!
Ocean Cloud Dough from My Nearest and Dearest
4 thoughts on “Easy, Taste-Safe Recipe for Summer Sunshine Clay”